Introduction
I still remember the smell of sweet corn boiling on Grandma’s wood stove back when I was eight. The kitchen windows fogged up, and the whole house felt warm even though it was late August. She called it “putting up corn” and did it the way her mother taught her—no fancy pressure canner, just a big speckled pot and a lot of patience. Folks back then didn’t have the tools we have now, but they fed families all winter with rows of golden jars on the pantry shelf. That’s what this old-fashioned way is about—simple tools, fresh corn, and time.
I’m not saying you should skip the safety rules we know today. The USDA warns that corn is low-acid and needs pressure Canning Corn to kill botulism spores. Grandma got lucky. Most did. But some didn’t. I’ll share her exact steps so you can taste history, but I’ll also point you to the safe modern way. Think of this as a story, not a rulebook. You decide what to do with it.
Also Read more: client case aelftech com
Brief History of Corn Canning
Corn canning started in the 1800s when farmers wanted summer sweetness in January. Glass jars were new, and tin cans were for factories. Home cooks boiled corn in salt water, packed it hot, and hoped the lid was sealed. By the 1920s, water-bath Canning Corn with a three-hour boil became the “safe” method. Pressure canners didn’t show up in most kitchens until after World War II. Old timers trusted long boiling to kill germs. It usually worked. Usually.
Why Choose the Old Way
Some folks love the soft texture water-bath corn gives—almost creamy. Others just like doing things the slow way. No electricity needed, no loud hiss from a pressure gauge. If the power goes out for a week, you can still preserve the harvest. Plus, those heirloom jars look pretty on the shelf. It’s a connection to people who came before us.
Safety Warning
Here’s the plain truth: botulism is rare but real. It grows in low-acid foods. Old water-bath times aren’t long enough by today’s science. If you try this, use the corn within a few months, check every jar, and toss anything that smells off. Better yet, borrow a pressure canner from a neighbor. I’ll give you the safe recipe at the end.
Equipment Needed
Grandma’s Canning Corn shelf looked like a museum. The blue enamel pot had black speckles and a tiny chip on the rim—she said that was from dropping it the year Grandpa proposed. You don’t need anything expensive. Start with a pot deep enough to cover jars with two inches of water. A rack keeps jars off the bottom so they don’t crack. Get a jar lifter; tongs slip and break glass. A wide funnel saves messes. And buy new lids every time—old ones fail.
I found a graniteware canner at a yard sale for three dollars. Clean it well, check for rust, and you’re set. No need for stainless steel. The old pots hold heat steady, and that’s what matters when you’re boiling for hours.
Jars and Lids
Mason jars are best. Pints for small families, quarts if you’ve got a crowd. Wash them in hot soapy water, rinse well. Old timers boiled jars to sterilize; I still do. Lids have a rubber ring that seals when heat pulls a vacuum. Don’t reuse lids—the ring stretches. Rings can be reused if they aren’t rusted.
Cutting Tools
A sharp paring knife works, but a corn cutter is faster. It’s a wooden board with a curved blade. You zip the ear across and kernels fall clean. For cream-style, scrape the cob with the back of the knife after cutting. Grandma used a tablespoon. It worked fine.
Pots and Towels
You need one big pot for blanching, one for the canner, and a small one for boiling water to pour over corn. Clean dish towels catch drips and pad hot jars. Keep plenty handy—Canning Corn is wet work.
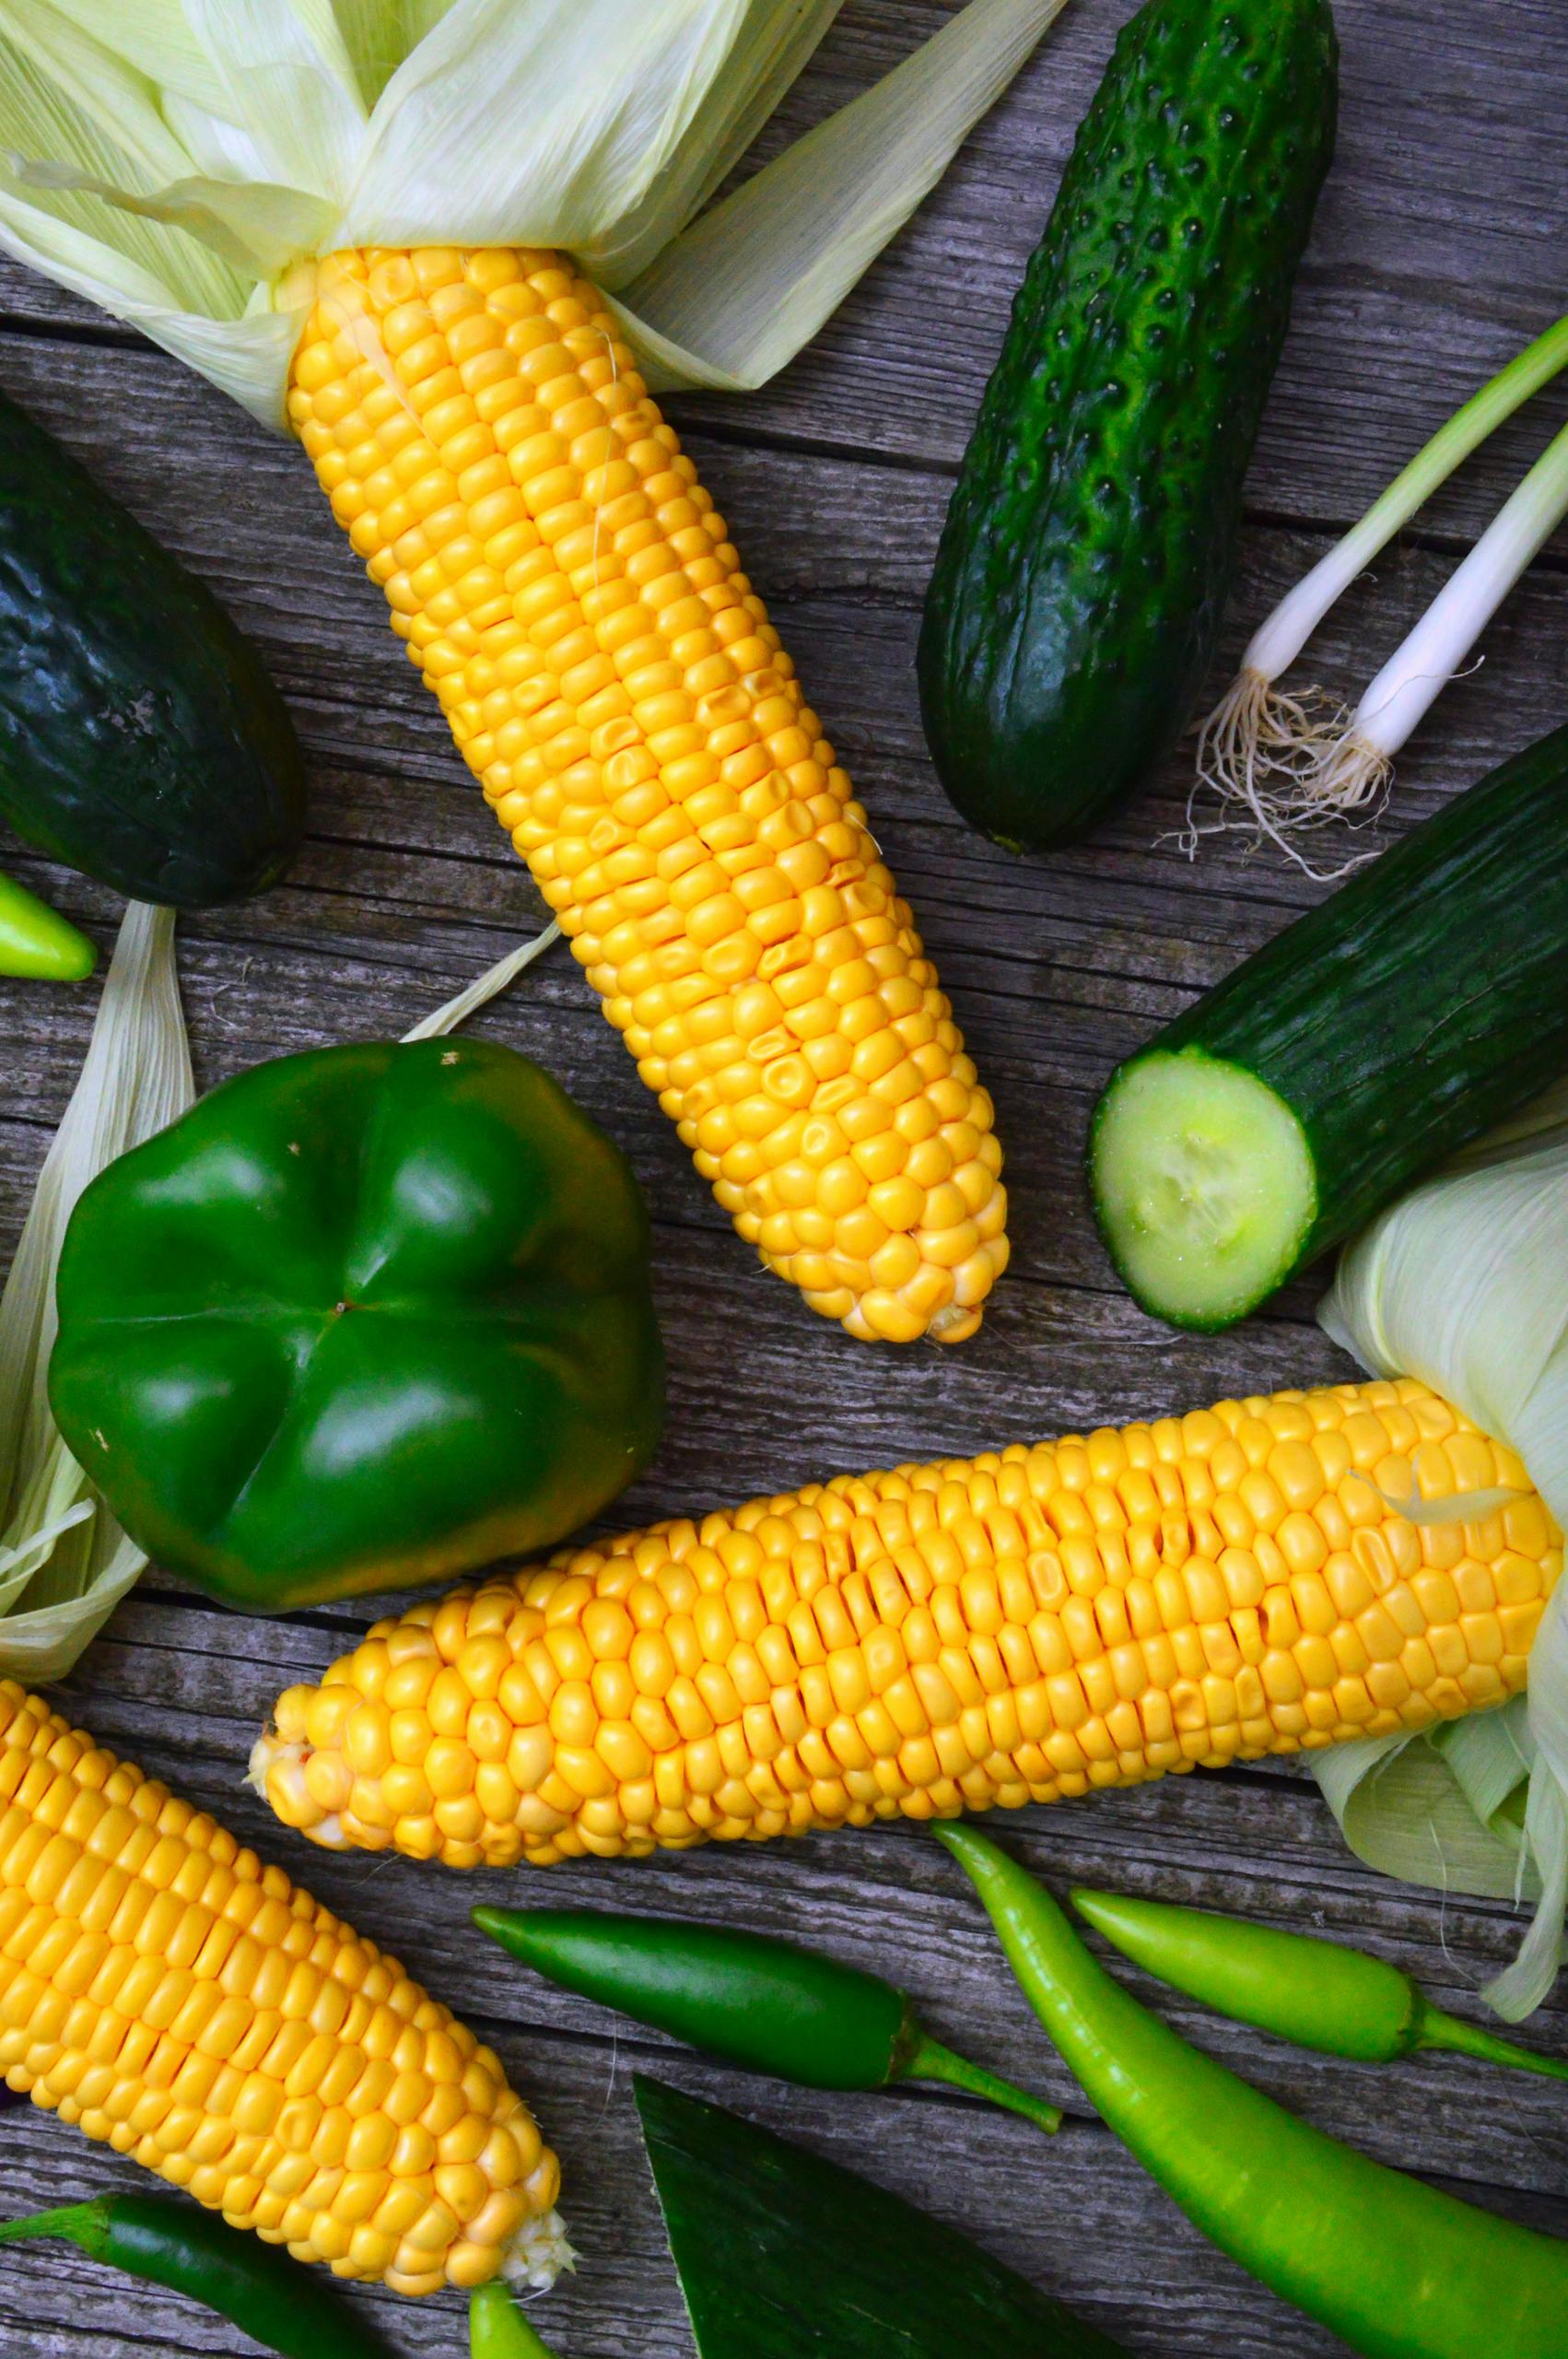
Selecting and Preparing Corn
Nothing beats corn picked at dawn. The sugars turn to starch fast, so hustle from field to pot. Look for ears with bright green husks tight to the cob. Peel one back—kernels should be plump and milky. If you squeeze one and clear juice comes out, it’s too young. White juice means it’s past prime.
We grew Golden Bantam in our garden. It’s an old variety from 1902, sweet without being syrupy. Country Gentleman has white kernels and a shoe-peg shape. Any sweet corn works, but avoid field corn—that’s for animals. Plan on six to eight ears per quart jar.
Husking and Silking
Sit on the porch with a trash can between your knees. Pull husks down like banana peels. Snap off the stalk end. Rub silks with a damp cloth or your hands. Some folks use a soft brush. Get every strand—silks burn and look ugly in the jar.
Blanching
Fill your biggest pot three-quarters with water, bring to a rolling boil. Drop in four to six ears. Set a timer for four minutes. The kernels brighten and soften just enough to pack tight. Have a sink of ice water ready. Lift ears with tongs and plunge them in. This stops cooking and sets the color.
Cutting the Kernels
Cool ears until you can handle them. Stand an ear in a bundt pan—the hole holds the cob steady. Slice downward with a sharp knife, cutting two-thirds into the kernel. Don’t see the cob; you want milk, not woody bits. Turn the ear and repeat. For cream-style, go back with the knife back and scrape.
Packing the Jars
Two ways exist: raw pack and hot pack. Grandma liked raw packs because it was less work. You stuff cold kernels in hot jars and pour boiling water over. Hot pack means you simmer the corn first. Either way, leave one inch of headspace—that’s the empty gap at the top. Too little and lids buckle; too much and seals fail.
Sterilize jars by boiling for ten minutes, keep them hot in the pot until ready. Work fast so everything stays hot. Salt is optional—one teaspoon per quart. It’s for flavor, not safety. Wipe every rim with a clean cloth dipped in vinegar. One speck of corn starch can break the seal.
Raw-Pack Method
Fill hot jars with raw kernels straight from the cutting board. Shake the jar to settle. Add salt if you want. Ladle boiling water over, leaving one inch headspace. Slide a plastic knife around the inside to pop bubbles. Wipe rim, put on lid, screw ring just until finger tight—not Hercules tight.
Hot-Pack Method
Put cut kernels in a pot with just enough water to cover. Bring to a boil, simmer for five minutes. Stir so it doesn’t scorch. Pack hot corn into hot jars, cover with hot cooking liquid. One inch headspace still. Remove bubbles, wipe, lid. The hot pack shrinks less, so the jars look fuller.
Headspace and Bubbles
Headspace lets liquid expand when it boils inside the jar. One inch is the magic number for corn. Use a plastic chopstick or bubble tool to gently press kernels and release trapped air. Big bubbles can push liquid out during processing and mess up the seal.
Processing in Water-Bath
Here’s where old meets risk. Grandma processed pints three hours, quarts four. That’s a long time to keep water boiling hard. Use your deepest pot, put a rack or folded towel in the bottom. Lower jars with the lifter—they mustn’t touch each other or the pot sides. Add water to cover by two inches.
Put the lid on, bring to a rolling boil. Start the timer only when bubbles are steady and strong. Check every twenty minutes; add boiling water if needed. Altitude matters—add twenty minutes for every thousand feet above sea level. At three thousand feet, that’s an extra hour.
Open-Kettle Method
This is the oldest trick: fill jars with boiling corn and liquid, put lids on, turn upside down. Heat supposedly seals them. It often worked, but germs survived. Seals fail later. Modern books call it unsafe. I only mention it so you know why some old jars spoiled.
Long Water-Bath Times
Three hours feels forever, but that’s what cookbooks said in 1935. The idea was heat penetrating the thick corn mass. Today we know botulism spores laugh at 212 °F. Still, if you’re doing this for history, keep the boil rolling and don’t cheat the clock.
Altitude Adjustments
Water boils cooler the higher you go. At five thousand feet, it’s 202 °F instead of 212 °F. Extra time makes up the difference. Use this rule: add five minutes for every thousand feet above sea level. Write it on a card and tape it inside the cupboard.
Cooling and Testing Seals

When the timer rings, turn off heat. Wait five minutes, then lift jars straight up—don’t tilt. Set on a folded towel, spaced apart. Leave them alone for twelve hours. You’ll hear pings as lids suck down. That’s music.
Next morning, press each lid center. No flex means sealed. Remove rings; they rust and trap moisture. Wash jars in warm soapy water, dry, label with date and “OLD METHOD.” If a lid pops up, put that jar in the fridge and eat within a week.
Listening for the Ping
The ping is vacuum pulling the lid. It can happen right away or hours later. Don’t poke lids early—you’ll break a forming seal. Cool air and quiet kitchen help. My cousin swears by playing soft music. I think she just likes excuses to sit.
Removing Rings
Rings hold lids during processing, but leave them off for storage. Moisture hides underneath and rusts metal. Plus, if a seal fails later, the lid lifts clean instead of being stuck by a tight ring. Store rings in a coffee can for next year.
Labeling
Use a permanent marker: “Corn – Aug 2025 – Old Water Bath.” Add variety if you know it. Stickers fall off in damp cellars. Write on the lid or side. Seeing the date reminds you to use the oldest jars first and toss anything over two years.
Storage and Shelf Life
Find the coolest, darkest spot—root cellar, basement corner, back of a pantry. Fifty to seventy degrees is perfect. Light fades color; heat shortens life. Stack jars one high or use cardboard dividers. Check monthly for leaks or bulging lids.
Old timers kept corn two, even three years. Texture went mushy, but they ate it. Today we say one year max for quality, less for this method. When you open a jar, smell it. Good corn smells sweet. Toss anything fizzy, sour, or slimy.
Ideal Conditions
A stone foundation wall stays cool year round. If your house is warm, bury a wooden box in the yard and cover with straw. My uncle did that during the war. Mice got in once—he switched to metal trash cans with tight lids.
Signs of Spoilage
Bulging the lid means pressure inside—toss unopened. Leaking syrup, cloudy liquid with bubbles, white mold, pink streaks—all bad. When you open, spurting liquid is dangerous. The smell should be corn, not alcohol or barnyard. If in doubt, throw it out.
Rotating Stock
Use the oldest jars first. Line them up like soldiers, new recruits in back. Eat a jar, move everything forward. Kids love helping; make it a game. Keeps the pantry organized and nothing lingers too long.
Modern Safety Alternatives
Pressure Canning Corn is the gold standard now. Ten pounds pressure at sea level hits 240 °F—hot enough to kill botulism. The process takes ninety minutes, not four hours. Jars seal tighter, liquid stays inside, corn keeps crunching.
You can still taste Grandma’s recipe—just use her packing steps, then pressure can. The USDA recipe is free online. Ball Blue Book too. Borrow a canner; they’re common at thrift stores. One afternoon and you’re safe all year.
USDA Pressure Method
Wash corn, blanch for four minutes, cut kernels. Raw or hot pack into jars, one inch headspace, boiling water, salt optional. Wipe, lid. Process pints 55 minutes, quarts 85 minutes at ten pounds (adjust for altitude). Cool, check seals. Easy and safe.
Why Pressure Replaced Long Boil
Science learned botulism spores survive 212 °F for hours. Pressure raises the boiling point. By 1950, extension agents taught the new way. Old cookbooks added warnings. Long boils wasted fuel and softened food. Pressure won.
Blending Old and New
Pack corn Grandma’s raw way, add a pinch of sugar like she did, then pressure can. You keep family flavor without risk. Tell kids the story while the gauge jiggles. Tradition and safety in one pot.
Troubleshooting
Siphoning happens when liquid boils out—usually from temperature swings. Start with hot jars, hot corn, and hot water. Bring the canner to boil slowly. Cool slowly. If liquid’s half gone but lid seals, use soon; low liquid means less protection.
Floating corn means packs too loose or jars overfilled. Shake jars gently while filling. Hot packs float less. Cloudy liquid can be starch—normal in a raw pack. If it smells bad, toss it. Discoloration at the top is air; eat that jar first.
Liquid Loss
Half inch missing is okay if the seal holds. More than that, refrigerate and eat soon. Prevent it by keeping the boil steady, not crazy. Remove jars straight up. Let the canner cool for five minutes before lifting the lid—steam pressure equalizes.
Floating Fruit
Corn floats because it’s lighter than water. Raw packs float more. Fill jars fuller next time, press kernels down. The hot pack shrinks corn first. Floating doesn’t hurt safety, just looks funny. Shake the jar before opening to mix.
Cloudy vs. Spoilage
Starch makes milky liquid—normal. Tiny bubbles that stop when you tap the jar are fine. Constant fizz means fermentation—toss it. Pink or blue tint can be minerals in water. Smell is the final test.
Historical Notes & Variations
In 1897, Fannie Farmer’s cookbook said to boil corn for four hours in an open kettle, then seal. Amish families still do a version, but most pressure can now. Southern cooks added sugar; Midwestern stuck to salt. Cream-style was big in the 1930s—think corn pudding from a jar.
My great-aunt wrote “succotash mix” on quarts with lima beans added. Some packed corn on the cob—pretty but wasteful. Native tribes dried corn; Europeans learned Canning Corn from Napoleon’s prize contest. Every region tweaked the method.
19th Century Recipes
Handwritten notes in margins: “Boil till kernels sink.” No timers, just feel. Salt pork fat on top for seal. Risky but tasty. One diary said, “Lost two jars, gained twelve—good year.”
Salt vs. Sugar
Salt brings out the corn flavor. Sugar masks it. Grandma used both—half teaspoon each per quart. Try small batches in different ways. Label and taste in January. Pick your favorite for next summer.
Regional Styles
Tennessee corn got a splash of vinegar. Iowa packed tight with no liquid—just corn juice. Pennsylvania Dutch added pickled relish. Taste your dirt; corn reflects the field it grew in.